For travelers, food is more than sustenance; it's a gateway to culture, a shared experience, and often, a vivid memory. Capturing these culinary moments effectively transforms a simple snapshot into compelling visual content, whether for personal archives, social media, or professional travel blogs. The distinction between a quick phone picture and an engaging food photograph lies in understanding fundamental principles adaptable to diverse travel scenarios. This guide outlines practical approaches to elevate your food photography, focusing on technique and environmental awareness rather than specialized gear, ensuring your images resonate with authenticity and appeal.
Mastering Natural Light for Culinary Shots
Effective food photography hinges on light. While studio setups offer controlled environments, travelers must leverage available natural light, which is often the most flattering for food. Direct, harsh sunlight creates stark contrasts and blown-out highlights, while insufficient light leads to grainy, unappetizing images. The goal is diffused, soft illumination.
- Seek Window Light: Position your dish near a window, ideally one that isn't receiving direct, unfiltered sunlight. Overcast days provide ideal soft, even light. If the sun is too strong, use a sheer curtain or even a white napkin as a makeshift diffuser to soften the light.
- Utilize Open Shade: When dining outdoors, locate a spot under an awning, a large tree, or on the shaded side of a building. This provides bright, yet indirect, light that minimizes harsh shadows and preserves food colors accurately.
- Avoid Overhead Lighting: Many restaurants use overhead spotlights or fluorescent fixtures, which cast unappealing shadows and often give food an unnatural color cast. If possible, reposition the dish slightly or angle your shot to minimize their impact.
Pro Tip: Always observe the light source before ordering or plating. A quick scan of the restaurant or outdoor setting can reveal the best table or angle for photography, allowing you to plan your shot as the food arrives. This proactive approach saves time and reduces awkward adjustments.
Compositional Approaches for Appetizing Images
Beyond good lighting, how you frame your shot dictates its visual impact. Strategic composition guides the viewer's eye and emphasizes the dish's best features.
Best for: Emphasizing shape and texture.
Overhead (Flat Lay) Perspective
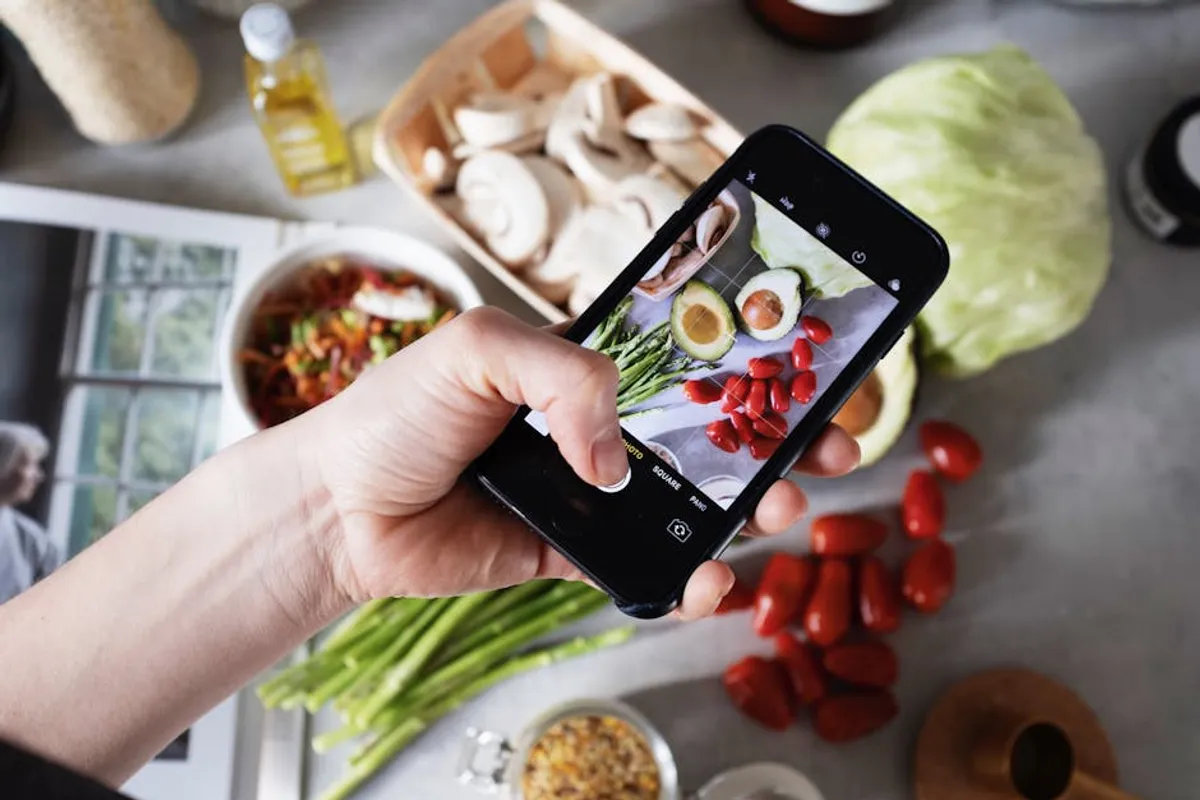
This angle works particularly well for dishes with interesting patterns, vibrant colors, or when showcasing multiple items on a table, such as a spread of tapas or a breakfast buffet. Ensure your camera is directly above the food, parallel to the table, to avoid distortion. Include elements like hands, local textiles, or condiments to add context and scale without cluttering the main subject.
Best for: Highlighting depth and layers.
Eye-Level and 45-Degree Angles
For dishes with height or distinct layers, like a towering burger, a layered cake, or a cocktail, shooting from eye-level or a 45-degree angle reveals their structure. This perspective often creates a more intimate connection with the food, mimicking how one might view it before eating. Use a shallow depth of field to blur the background, making the dish stand out.
Styling and Storytelling in Travel Food Photography
Travel food photography extends beyond merely documenting a meal; it's about conveying the experience, the culture, and the context. Small details can transform a static image into a narrative.
Embracing Authenticity and Local Flavors
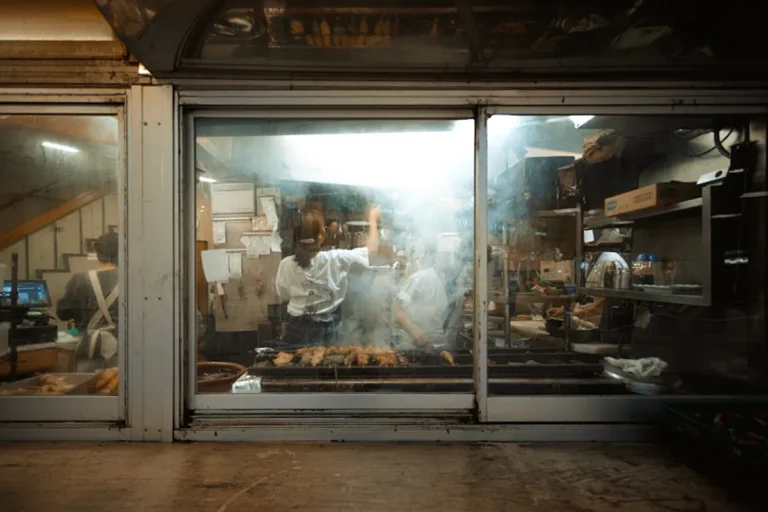
Resist the urge to over-style. The beauty of travel food photography often lies in its authenticity. Include elements that speak to the location: a colorful local tablecloth, a unique piece of pottery, a bustling street scene in the background (blurred, if preferred), or even the chef's hands preparing the dish. These contextual cues tell a richer story than the food alone.
Best for: Adding human connection.
Incorporating Hands and Action
A hand reaching for a piece of bread, chopsticks poised over noodles, or a glass being poured — these human elements add dynamism and relatability. They invite the viewer into the scene, suggesting interaction and enjoyment. Ensure hands are clean and well-lit, becoming an intentional part of the composition.
Technical Considerations for On-the-Go Shooting
While advanced cameras offer more control, even smartphone users can significantly improve their results by focusing on a few technical basics.
- Focus Precisely: Always tap to focus on the most important part of the dish, typically the foreground or the most visually appealing element. A sharp subject draws the eye immediately.
- Manage Depth of Field: For a professional look, aim for a shallow depth of field where the food is sharp and the background is softly blurred. On smartphones, use "Portrait Mode" or similar features. On dedicated cameras, use a wider aperture (smaller f-number, e.g., f/2.8 or f/4).
- Ensure White Balance Accuracy: Different light sources have different color temperatures. Incorrect white balance can make food look unappetizing (e.g., too yellow or too blue). Most cameras and phones have automatic white balance, but learn to adjust it manually if your food consistently appears off-color, especially under artificial lighting.
- Keep Your Lens Clean: This is a simple but critical step. Fingerprints and smudges on your phone or camera lens will cause hazy, unfocused images. A quick wipe with a microfiber cloth before each session makes a significant difference.
Post-Processing for Impact
Even the best raw photos can benefit from minor adjustments. The goal of post-processing for travel food photography is enhancement, not alteration. Focus on subtle changes that bring out the food's natural appeal.
- Cropping and Straightening: Refine your composition and correct any tilted horizons.
- Exposure and Contrast: Adjust brightness and deepen shadows to add dimension. Be careful not to overexpose highlights or crush shadows completely.
- White Balance Correction: Fine-tune color temperature to ensure the food appears true-to-life.
- Saturation and Vibrancy: Boost colors subtly to make ingredients pop, but avoid over-saturating, which can make food look artificial.
- Sharpening: Apply a small amount of sharpening to bring out details, especially in textures.
Elevating Your Travel Food Content
Consistently capturing engaging food photography while traveling requires patience, observation, and a willingness to experiment. Focus on understanding light, applying thoughtful composition, and telling a story with each shot. These practices not only result in more compelling images but also deepen your appreciation for the culinary experiences encountered on your journeys. Start by paying closer attention to the visual elements of your next meal, and watch how your photography evolves.
Frequently Asked Questions
What is the best time of day for food photography while traveling?
The "golden hours" (shortly after sunrise and before sunset) offer soft, warm light ideal for food. However, diffused daylight from an overcast sky or indirect window light during midday can be equally effective, providing even illumination without harsh shadows.
Should I use my phone or a dedicated camera for travel food photography?
Both are viable. Modern smartphones offer excellent image quality and convenience, especially with features like "Portrait Mode" for shallow depth of field. Dedicated cameras provide more manual control, larger sensors for better low-light performance, and interchangeable lenses for greater creative flexibility. Choose the device you are most comfortable and proficient with.
How can I make food look fresh and appealing in photos?
Focus on capturing the food as soon as it's served to preserve its freshness. Use natural light to highlight textures and colors. A quick spritz of water can add a dewy look to fresh produce, and a clean plate with minimal clutter helps the food stand out. Avoid long delays between serving and shooting.
Is it acceptable to ask for permission before photographing food in a restaurant?
Yes, it's always respectful to ask, especially in smaller, more intimate establishments or if you plan to use a flash or larger equipment. Most restaurants are accustomed to guests photographing their food, but a polite inquiry demonstrates consideration and can avoid any misunderstandings.